Client Accounts and Site Transfers
Tips and info on how to manage sites for your clients
One of the challenges of managing WordPress sites for yourself and clients is how to organize & host the sites, handle different payment setups, and deal with the need to change or update all this as things evolve.
The Journey of a Client's Site
Many people that are just starting on SITEDISTRICT are starting with a site that they are working on for a client.
You may have imported the site, or maybe you started from a fresh install of WordPress on one of our free development sites.
Usually, you've done this on your own personal or agency account on SITEDISTRICT.
You've probably had your client check out the front end of the site using the .sitedistrict.com
subdomain for the site.
Your client is impressed by the speed of the site, you're happy with the support, tools & features, and performance, and now you're ready to finish the migration or make the new site live on SITEDISTRICT.
So now the question: How do you make the site live for your client?
Making a site live on SITEDISTRICT using your own or your client's domain requires that the account that contains the site has a payment method added to it.
One option is that you can host the client's site on your own account, and charge them directly for hosting, either at our published rate, or a rate of your own choice. In this case, you are reselling our hosting.
If you'd like to have the client pay for hosting directly, and for us to handle support for them directly, you can create an account for them, transfer the site, and invite them to the account to set up the payment details.
That's what this page is about.
Accounts on SiteDistrict
One Personal Login, Many Accounts
On SITEDISTRICT, each actual person accessing our dashboard needs to have their own login. We call this a User.
Each User can be a member of multiple Accounts.
Each Account can have one or more Sites. The Account can have multiple payment methods but needs at least one default payment method for sites to be accessed using external domains.
What we'll show you next is how to create a new Account for your client, and then invite them to be an Owner (a special type of User) for the account that you create.
Client Accounts + Site Transfer
These are the steps for creating a new account, transferring a site, and inviting your client to enter their payment details. It will probably take you longer to read the rest of this page than it will to actually complete the steps.
Let's get started ...
1. Create a New Account
You can create a new Account on SiteDistrct by clicking on the dropdown that displays the name of the account that you are currently under.
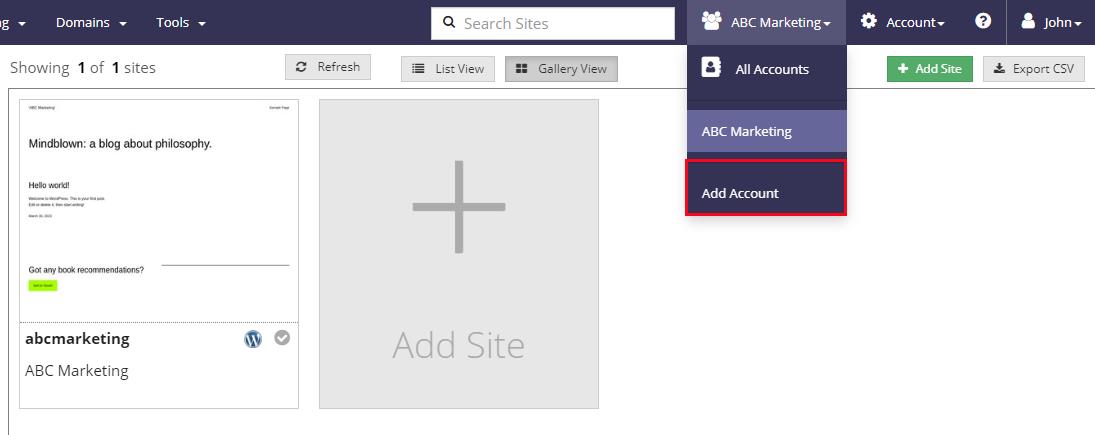
Select the Add Account menu item, and you will be shown this dialog:
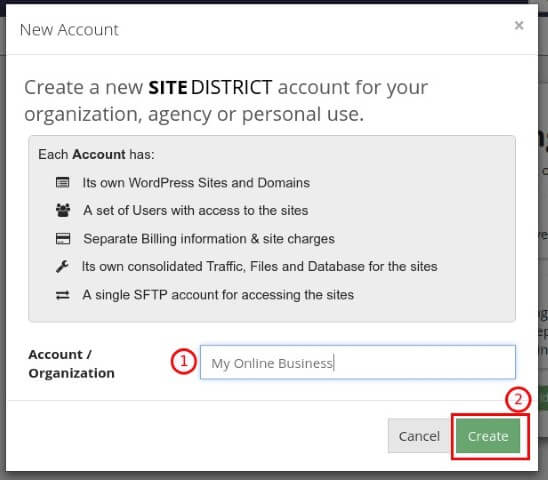
Enter the name of your client's company, your client's name, or whatever makes sense. Then click Create.
2. Transfer the Site
Once you create a new empty account on SITEDISTRICT, you'll see a placeholder inside the new account, with three options. Click on the Transfer Site option:
You will be shown a dialog. If you only have the original account, then it will be already selected. Select the site you wish to transfer, and click Transfer Site.
Because of the way SITEDISTRICT has been engineered, transferring a site only takes a few seconds.
3. Invite Client to Account
Now that you've created the new account for your client, and you've transferred the site to the account, you can invite your client to the account.
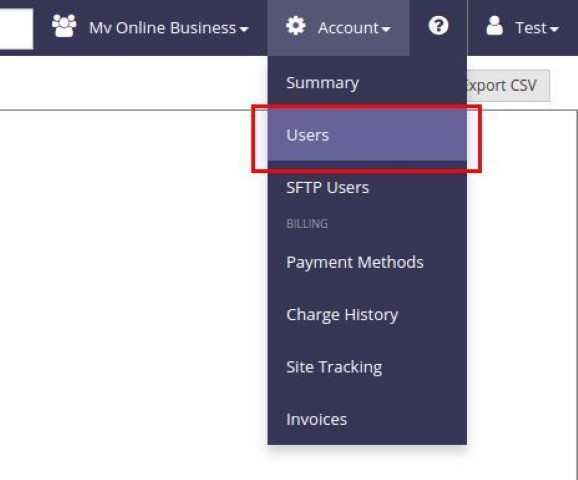
There are multiple ways to do this. We recommend you click on the Account dropdown menu near the top right of your dashboard and select Users:
On the Users page, you should see yourself listed. You want to invite your client to be a new User on the account.
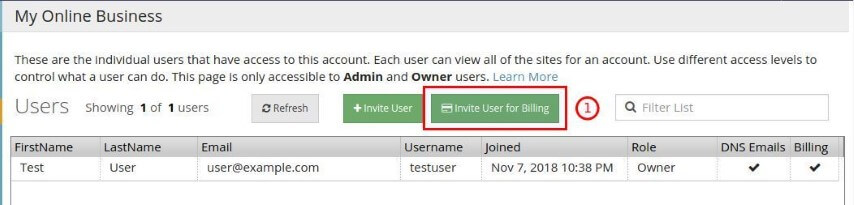
If you've already convinced your client to host their site on SITEDISTRICT, and all you need them to do is to sign up and enter their payment method, then you'll want to click the Invite User to Billing button.
Once you click this button, you'll be shown a dialog:
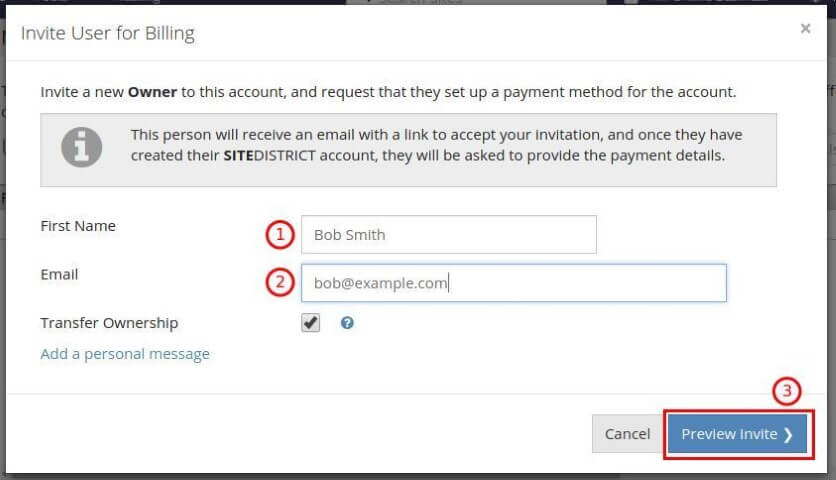
If you don't want or need to have anything to do with the billing, you can click the Transfer Ownership option. Once your client has accepted the invite, they will become the new Owner of the account, and you will become an Admin. You'll still have full administrative privileges to the account, with the exception that you won't be able to:
- Access Billing Information
- Add or change a user to an Owner
You'll still be able to add other users, fully manage the sites, and access the tools inside the SITEDISTRICT dashboard.
If your client is already expecting a message, you can just click Preview Invite, and then Invite User.
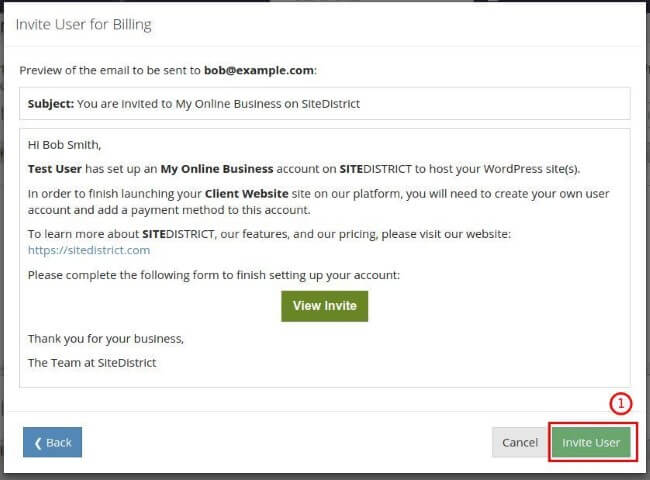
That's it. You're done with this part. Once they have signed up, you will get an email notification like this:
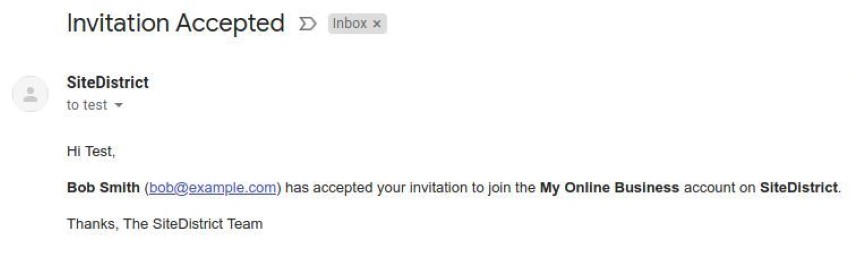
After you've confirmed that they have entered the payment information, you can finish the migration of the site by making the required DNS updates.
The Client Invite & Signup Process
In case you're curious about what your client will receive by email, and what they'll see, we've provided an outline of that too:
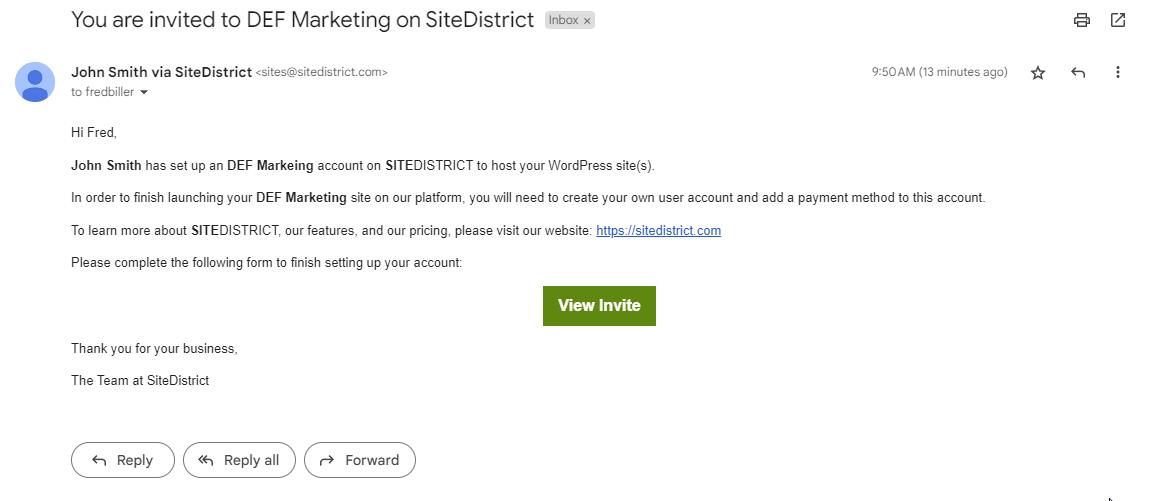
Client Invite Email
The email that is sent out will look like this:
Signup & Payment Method
The signup process starts the same as when you signed up for SITEDISTRICT, except that the page tells them they have been invited to a specific account:
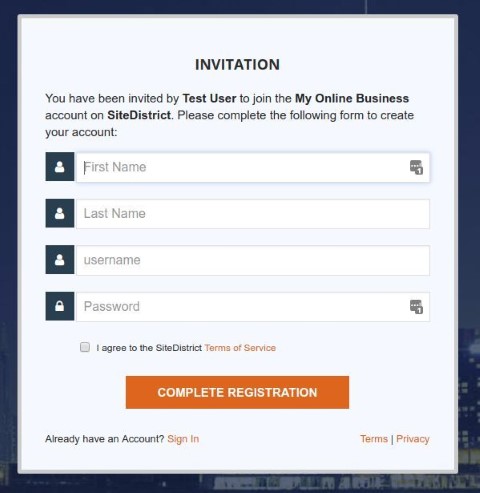
Once they have completed the signup form, they will be shown this dialog:

Summary
At SITEDISTRICT, we do our best to build a platform that matches the way you work. We believe the features outlined in this page and the process described make it easy and natural to import, test, and manage sites for clients, without the need to plan ahead or enter credit card details too early.
If you agree, or have feedback or suggestions, feel free to tweet about it or post on our Facebook page
 Twitter
 Facebook
 Linkedin